Thursday, January 25, 2018

Simon Says Stamp New Release "LOVE"

Hello friends!
I am popping in with a post about Simon Says Stamp's latest release. 
How perfect it is for this time of the year 😉
...the theme is "LOVE"! 
s

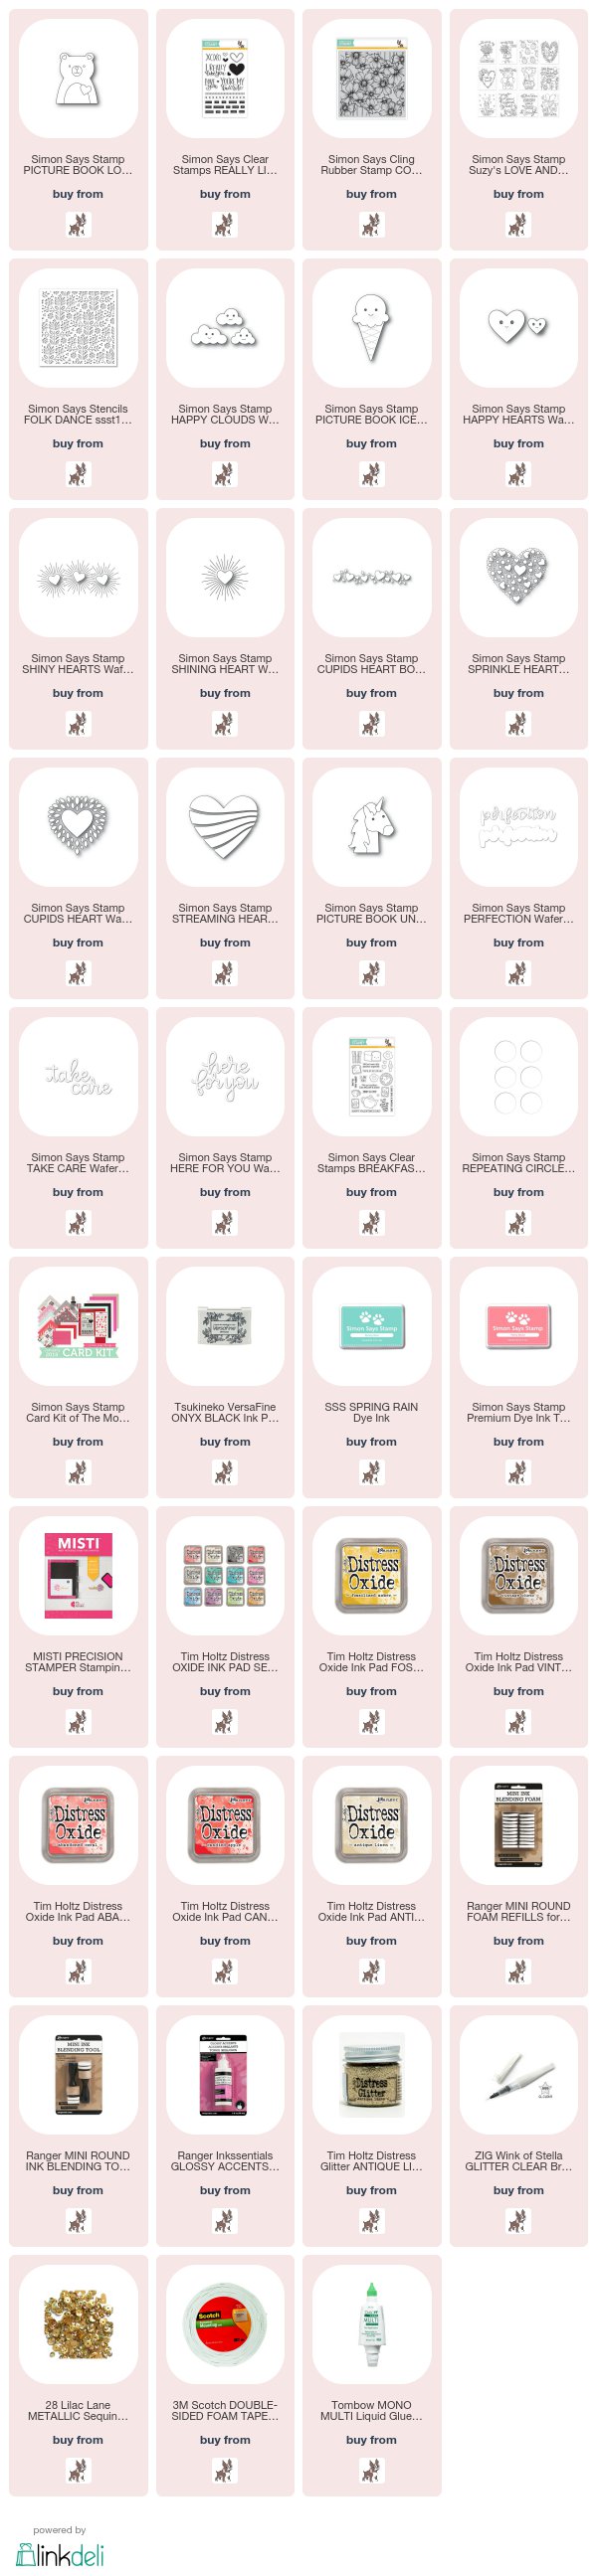
I was BEARY lucky to have this sweet Love Bear Wafer Die sent to me by SSS.
s

This cute Love Bear die can cut out every bits and peaces of the bear.
 See the tiny hearts and his little nose? Yeah, they can come apart easily and you can color each small pieces however you like it. And that is precisely what I did.

My easiest way of coloring is applying various ink to the die images. 
In this case, I used Distress Oxide.
adore you

With the new Distress Oxide colors, I find myself "needing" the new colors! 
I tend to have a REAL weakness when it comes to anything Distress (Inks, Oxide, Crayons, Sprays...). It's likely I am not alone. 😉
adore you-001

I did stamp the background Simon Says Stamp's Spring Rain and Teeny Bikini.
I also want to add some extra fun colors....what could be more perfect with pattern paper?

I love the paper "Forever and Mine" (Pebbles) that comes with January 2018 monthly Card Kit.

adore you (2)

The new sequins that I got recently are awesome. They are the brightest and shiniest gold sequins that I have ever come across.

You can see the entire new SSS elease here or click on the inks below.
~~~~~~~~~~~~~~~~~~~~~~~~~~~~~~~~~~~~~~~~~~~~~~~~~~~~~~~~~~~~

 s

edited....
Receive FREE 36 sheets of 12"x12" patterned paper(value $15.99) on orders over $49 from 1/25/2018 at 12:01 AM EST through 1/28/2018 at 11:59 PM EST. It will be added to cart automatically. Limit one per customer. Not valid on previous orders. 

Shop the LATEST here
Shop the SALES here
Ongoing promotions:
$7 off on all orders over $100 with code SHIP70FF. Shop here
FREE U.S. shipping on orders over $200 with code SHIPFREE 

Thanks for stopping by!
ps: I will be back next with a card created with THIS die.
Wednesday, January 24, 2018

Simon Says Stamp Wednesday Challenge #457

s

Welcome to another week on the Simon Says Stamp Challenge !! Thank you for joining us for the "Add a Sentiment" Challenge and we hope you will all join us again this week too :-)

This week the challenge is...

Layer It Up

 We are using Concord & 9th products this week. You don't have to use them to join in but if you have some, we love to see them used :-) 

I saw it on Simon Says Stamp

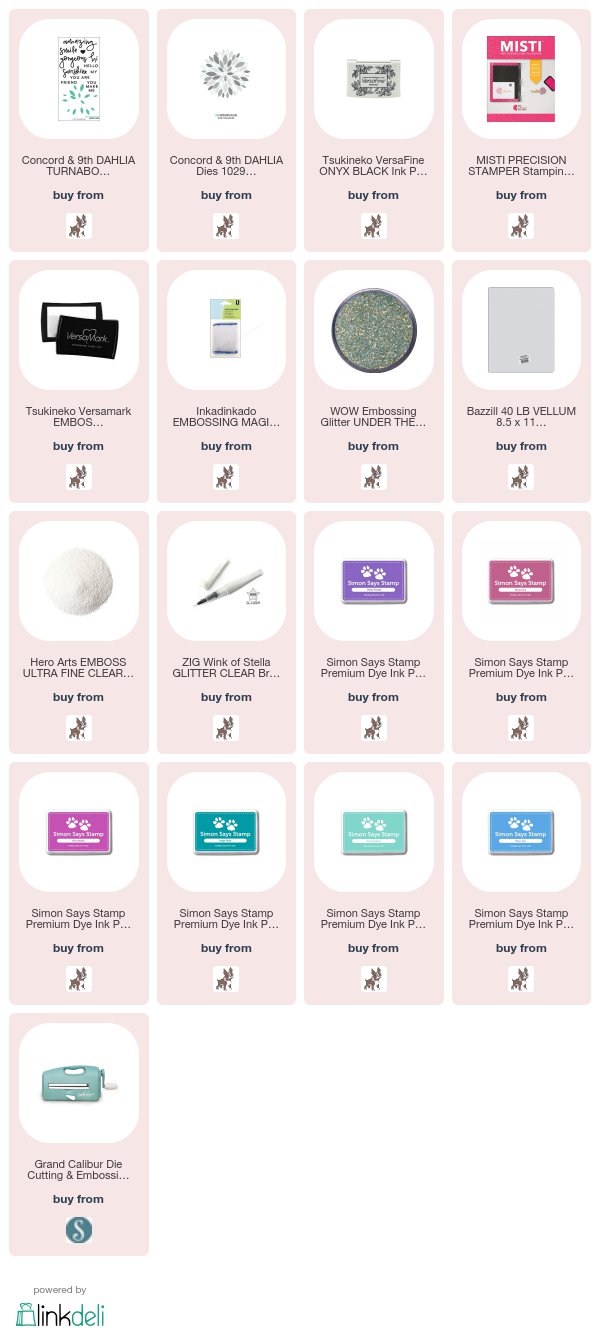
Concord & 9th DAHLIA TURNABOUT Clear Stamp Set 10293
I saw it on Simon Says Stamp

Concord & 9th DAHLIA Dies 10294
 

I am using the Turnabout Dahlia stamp set and die

hi sunshine-001

 I layered the images with pattern paper, die cut and vellum.

hi sunshine (concord & 9th)

I love the pattern paper peeking through the die cut.

hi sunshine
As always, Simon Says Stamp will be giving away a $50 voucher to shop at the fabulous Simon Says Stamp Store!
s
So now it's YOUR turn ! Happy Crafting !!
s
There are fabulous Give Aways and inspiration from fabulous designers on a daily basis over on the Simon Says Stamp Blog . If you haven't subscribed by email, you may want to do so you don't miss out.

s
You have until Wed. 8am Eastern Time to join in :-)
Do you use Instagram ?  If so please add  #ssswchallenge to your challenge entry uploads so we can see them on there too !
I hope you check out the DT's work!  I can't wait to see what you create!!
Thanks for stopping by!

Tuesday, January 23, 2018

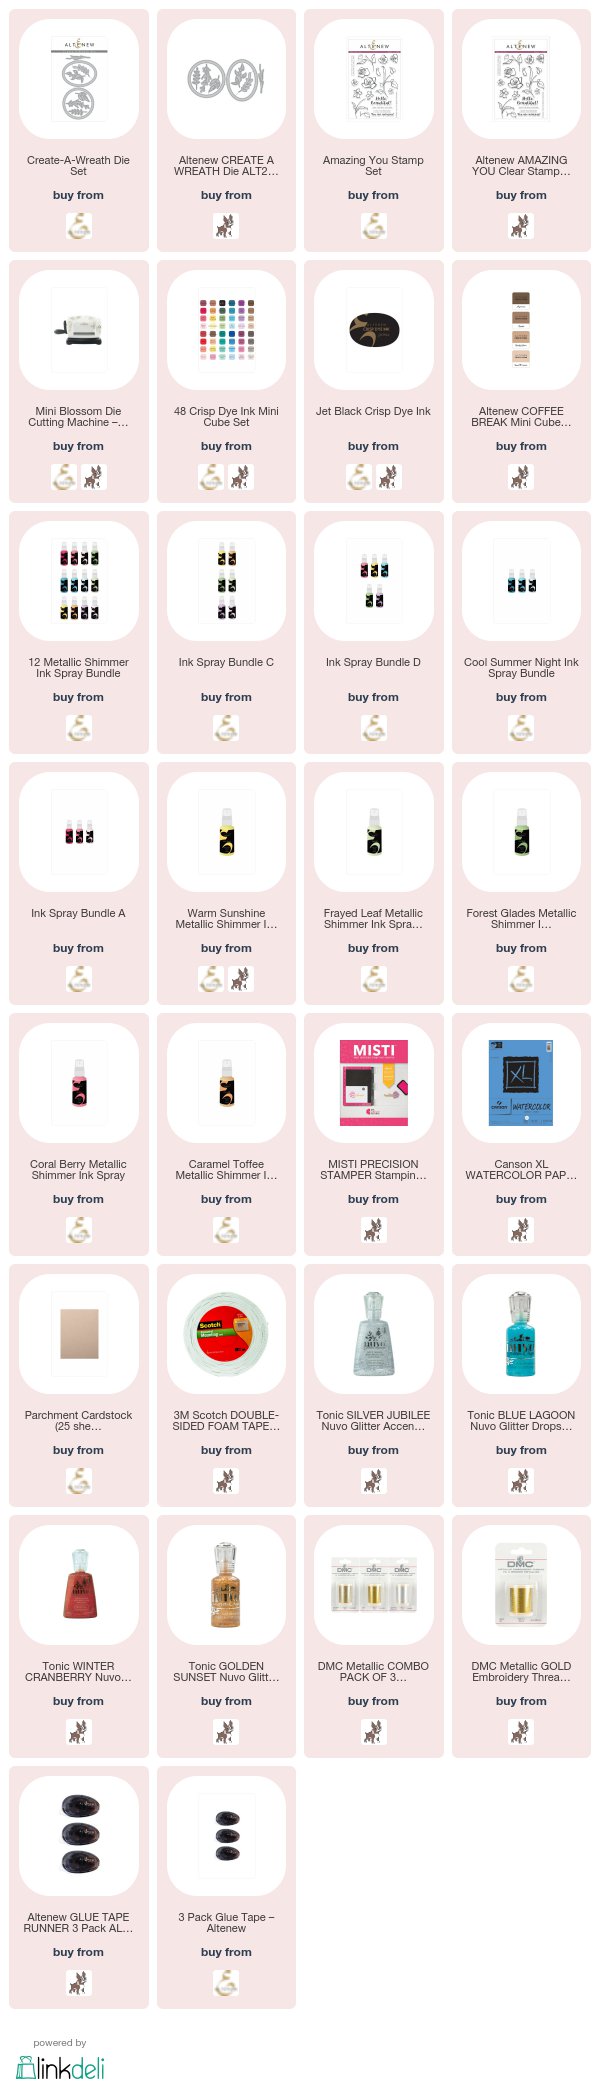
Create a Wreath (Take 2)

Hello friends! 
thank you for being awesome  

If you like my previous "Create a Wreath" project, today's card is my 2nd edition.
Being a more outgoing person, I often find myself reaching for bright and happy colors.
However, my 2nd wreath card is quite the opposite.
The colors are cooler and calmer. The design seems to be more subtle and muted.

hello-001

Remember how I told you the step-by-step process in creating this card. I will repeat the following in case you miss my previous post about the wreath project. 
My no-fail approach:
Step 1. spray Metallic Mist on Watercolor paper before bed time

Step 2. have a good night's sleep (this will ensure the success of your project) 😀

Step 3. die cut the colorful sprayed-misted paper

Step 4. assemble and arrange your wreath the way you like it

s
I also used Altenew's Parchment Paper for the "wood wreath".

hello-002


Once I had the dried ink-sprayed paper, I made the die cut and arranged carefully in most eye-pleasing way. Thanks to the variation of the Altenew Metallic Shimmer Sprays, I was able to create a jewel-toned creation. The result is totally unexpected. Love that!

hello


I stamped "hello from the "Amazing You" Stamp Set.
 Also, a  few splatter were added from Dusk Metallic Spray. 

hello-003


Lastly, I added more dotty details with the Gold Nuvo Drops and that seem to make the design more complete and cohesive.


I hope this post is helpful and inspiring...
If you do like what you see in this blog, please feel free to use my affiliate links for your shopping.
There will be no additional cost to you. But the small commission I receive will encourage me to share more and more... 😊 
Thanks so much for stopping by!
~~~~~~~~~~~~~~~~~~~~~~~~~~~~~~~~~~~~~~~~~~~~~~~~~~
Altenew has 25% off HERE
s

Save 25% on the Way Too Sweet Stamp & Die Bundle from 1/22/2018 at 12:01 AM EST through 1/25/2018 at 11:59 PM EST. While supplies last. No coupon code needed to enjoy this deal! Shop here

Here is the list of other promotions worth checking out: Sale collection 
Ongoing promotions: 
 $7 off on all orders over $100 with code SHIP70FF
 U.S. shipping on orders over $200 with code SHIPFREE

Monday, January 22, 2018

Alcohol-Inked Die and Spellbinders Winner Announcement

Hello friends!!

I have been a fan of alcohol ink for many many years...that is,
before it became popular again as of late.
There is a re-surge of energy and enthusiasm for more alcohol ink creations.
I had collected a few items in the last little while, namely,  silver and gold mixatives and alcohol ink markers. Today's card doesn't require anything fancy. All you need is.....well, alcohol inks.

Blessings

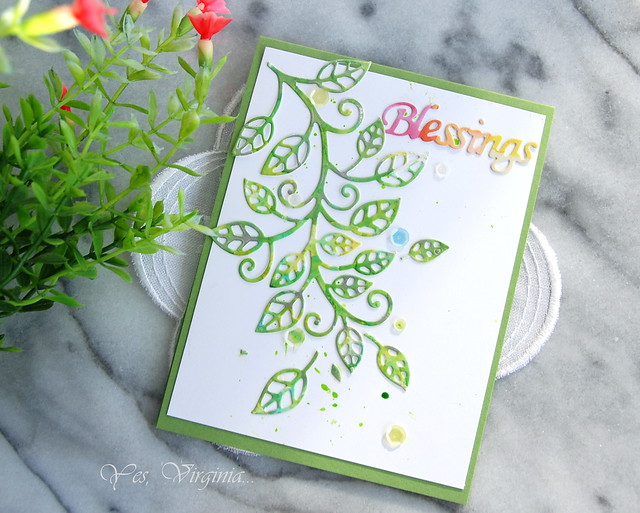
I created a piece of colorful card stock with alcohol inks (listed at the end of the post).

Blessings

Once I made the die cut, it was easy to arrange it on card stock and add the sentiment.

DSC_0071

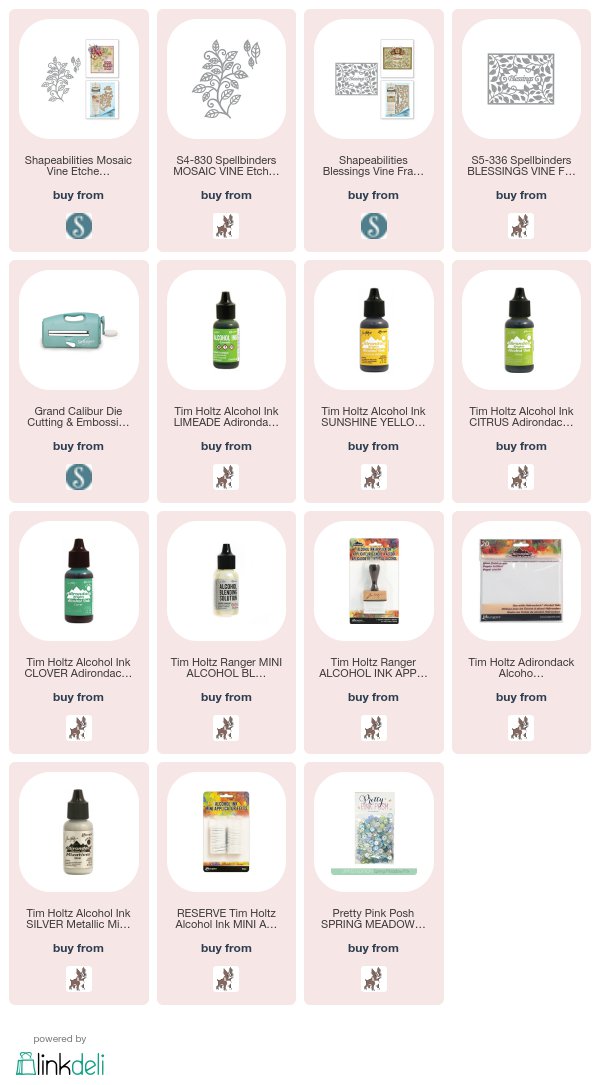
The vine image is from Mosaic Vine Etched Die
shop Spellbinders here
shop Simon Says Stamp here
s

The sentiment is from
 Spellbinders Blessings Vine Frame Etched Die
shop Spellbinders 
shop Simon Says Stamp
You can use any type of ink with the die, that is the beauty of using dies.
I do love the organic and unexpected element in alcohol inks.
~~~~~~~~~~~~~~~~~~~~~~~~~~~~~~~~~~~~~~~~~~~~~~~~~~~~~~~~~~~
It's time to announce the Spellbinders January Blog Hop Winner!
Spellbinders offer to give my blog readers a chance to win $25 Gift Card to their online store
And the winner is.....
Sue D said...
Wonderful creations. I really like the first card with the ink blended background and kraft card stock for the die.
Congratulations, Sue! Please e-mail me at becr8ive2@gmail.com to claim the prize.
 In other stamping news....
~~~~~~~~~~~~~~~~~~~~~~~~~~~~~~~~~~~~~~~~~~~~~~~~~~~~~~~~~~~~~~~~~

 Spellbinders also offers FREE Die D-Lites for orders over $60.

 (including Spellbinders Blessings Vine Frame Etched Die and Mosaic Vine Etched Die)
s

~~~~~~~~~~~~~~~~~~~~~~~~~~~~~~~~~~~~~~~~~~~~~~~~~~~~~~~~~~~
In other stamping news....
s

Altenew has 25% off HERE

Save 25% on the Way Too Sweet Stamp & Die Bundle from 1/22/2018 at 12:01 AM EST through 1/25/2018 at 11:59 PM EST. While supplies last. No coupon code needed to enjoy this deal! Shop here


Here is the list of other promotions worth checking out: Sale collection 
Ongoing promotions: 
 $7 off on all orders over $100 with code SHIP70FF
 U.S. shipping on orders over $200 with code SHIPFREE

Sunday, January 21, 2018

Die Cutting in TWO ways!

Hello friend!
I have a card with inlaid die cutting and dry embossing to share!
s
Rose metal Die (Penny Black)
(only 2 in stock)

life

I used two die cut techniques:  inlaid die cutting, dry-embossing with dies.

life

For each section of the Rose and background, I applied Distress Oxide and then once I finished coloring, I put the pieces back like a puzzle. Do you like the dry-embossing on the white card stock?

I am keeping this post short and sweet.
Happy Sunday!!

Something to check out:
~~~~~~~~~~~~~~~~~~~~~~~~~~~~~~~~~~~~~~~~~~~~~~~~~
I know I definitely want some, if not all.
Check it out here. 
~~~~~~~~~~~~~~~~~~~~~~~~~~~~~~~~~~~~~~~~~~~~~~~~~
Spellbinders has some nice clearance sale here. 
Today's deals can be found here
~~~~~~~~~~~~~~~~~~~~~~~~~~~~~~~~~~~~~~~~~~~~~~~~~
Altenew's sale is over here.
My favorite floral Fantasy Die is on sale here.
 ~~~~~~~~~~~~~~~~~~~~~~~~~~~~~~~~~~~~~~~~~~~~~~~~~
s
Click here to see the January bundle from Concord & 9th!

Saturday, January 20, 2018

A Card with Layers!

Hello friends! 

Today's card has a lot of layers with embossing and stamping.
I am not sure if you can see a piece of vellum...
But I tried to add that extra piece of element.
Card #3 I puffy love you

It's hard to believe how many products that I used to create this little card.

I am sharing a family photo while in Epcot (Disney World) from last week.
We had a great time getting away from the bitterly cold winter weather in Ontario, Canada.
Our grown children still love the theme parks and took every thrilling rides that they could.
Stephanie and David loved hearing me SCREAM when I rode on the roller coaster, such as Space Mountain and Tower of Terror. As I get older, my screaming during the rides seems to get louder and more prominent.... 😁😆

 Something to check out:
~~~~~~~~~~~~~~~~~~~~~~~~~~~~~~~~~~~~~~~~~~~~~~~~~
I know I definitely want some, if not all.
Check it out here. 
~~~~~~~~~~~~~~~~~~~~~~~~~~~~~~~~~~~~~~~~~~~~~~~~~
Spellbinders has some nice clearance sale here. 
Today's deals can be found here
~~~~~~~~~~~~~~~~~~~~~~~~~~~~~~~~~~~~~~~~~~~~~~~~~
Altenew's sale is over here.
My favorite floral Fantasy Die is on sale here.
 ~~~~~~~~~~~~~~~~~~~~~~~~~~~~~~~~~~~~~~~~~~~~~~~~~
s
Click here to see the January bundle from Concord & 9th!

Hope you are having a great day!

Friday, January 19, 2018

Use a Cover Die for Subtle Background

Hello friends!

Today's my turn to share a project over Altenew Blog.

You may know this fun technique already...
That is, use a cover die to create a subtle textured background.
I am using one of Altenew's latest dies as an example.
s
Altenew Cube Cover Die
Combining a Metal Die and a Tan Embossing Mat is a great way to stretch the cover die.
Adding layering effect is easy to do when you use the pattern paper. 

Altenew_CubeCoverDie_Virginia#4

 I chose the paper from Our Family 12x12 Pattern Paper 
which is absolutely amazing. Each piece of pattern paper has so much to offer. 


Altenew_CubeCoverDie_Virginia#1  

I took a bold move with the and TORE UP the bottom part of the watercolor pattern paper. 

Altenew_CubeCoverDie_Virginia#2

I must admit that I hesitated a bit at first, but I sure was glad that I did.
The torn edges give the card design an extra oomph.
I added gold glitter Washi tape underneath the torn edges.


Altenew_CubeCoverDie_Virginia#3

The Peony image was left nearly uncolored. I only took the shimmer pen and lightly colored the petals. This card may look complex, bu it really is not. 
I hope that you are inspired to try a layered look with minimum effort. 

Don't forget to leave me a comment over Altenew Blog for an extra chance to win the $20 monthly giveaway of Altenew Gift Card.
Thanks so much for stopping by!